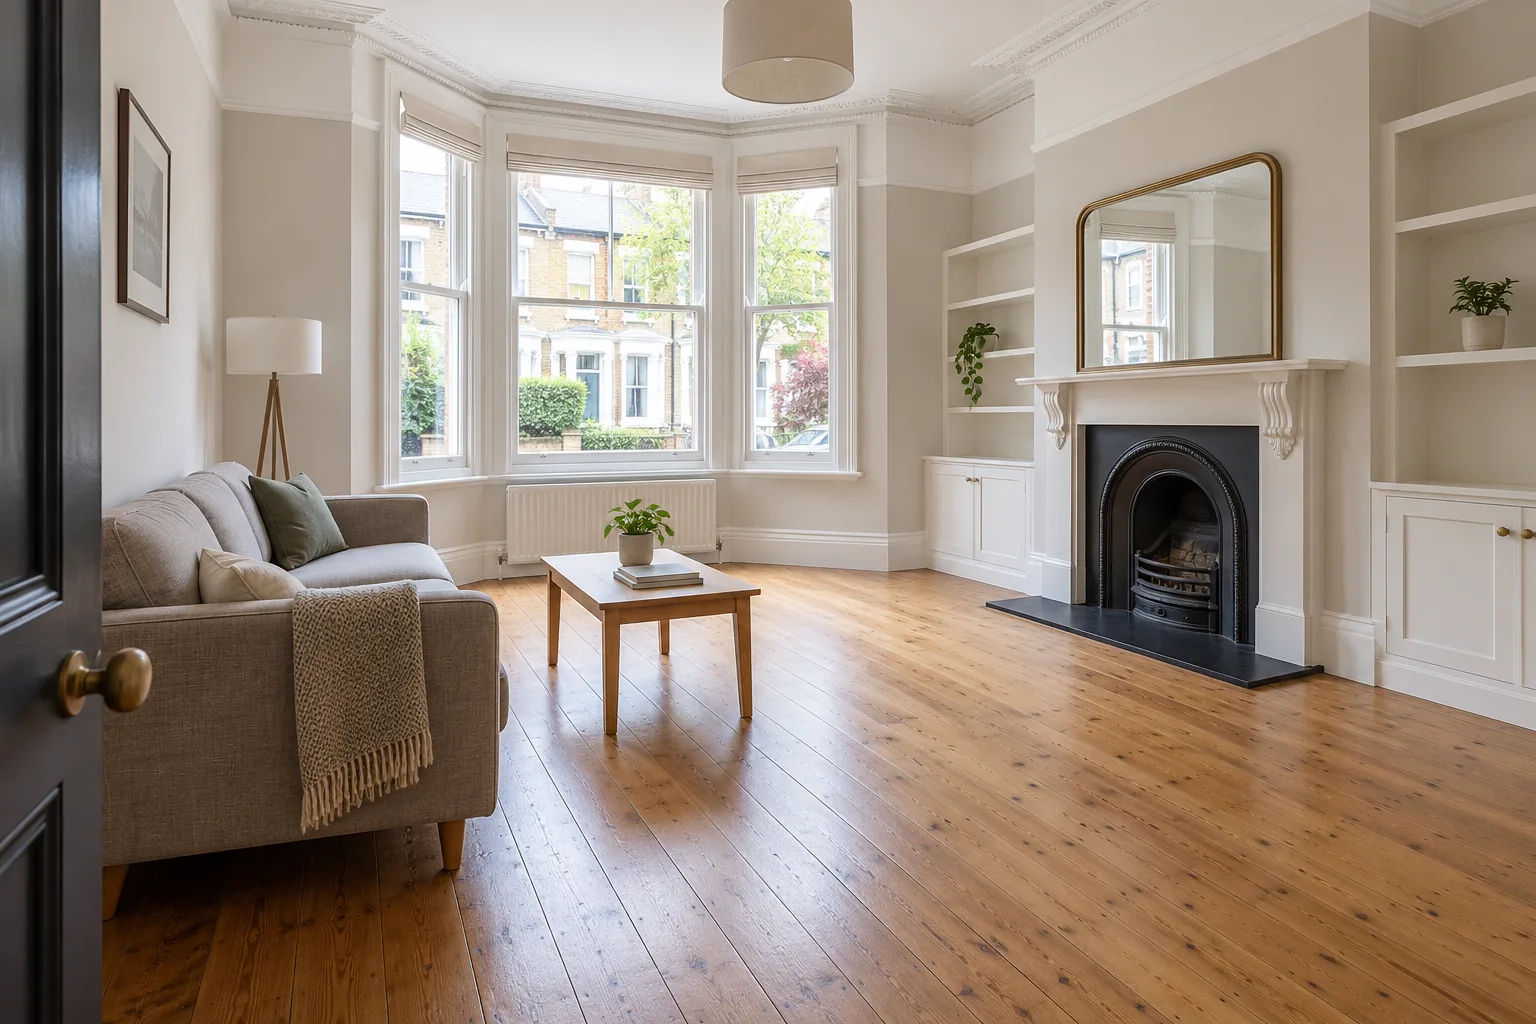
An estate agent's photography appointment gives a property clearance a clear deadline, but the aim is more specific than simply emptying the home. The camera needs uncluttered rooms, clear routes and a view of the property's useful space. You may still need furniture for scale, access for cleaners and a safe place for possessions that are not going into the sale. A short plan made before the photographer arrives helps you avoid paying to remove something that should stay or discovering a crowded room on the morning of the shoot.
Treat the photography date as one milestone in a wider move or sale. Agree which rooms the agent will photograph, what furniture they recommend retaining, and when the property must be fully vacant. This guide focuses on the order of clearance work before the pictures. Cleaning, decoration and styling may follow, but they work best after the bulky unwanted items and loose waste have been dealt with.
Ask the agent what the photographs need to show
Before booking a collection, ask the agent for the shot list or at least the rooms and features that matter most. A photographer may need wide views of the living room, bedrooms, kitchen, bathroom, garden and any useful storage. If the property is occupied, the aim may be to remove surplus items while leaving enough furniture to show how the rooms function. If it is vacant, a nearly empty room can be appropriate, but leftover bags, packaging and disconnected fittings will be conspicuous.
Walk through the property from the likely camera positions. Stand in a doorway and in each corner rather than only looking at the middle of the room. A stack behind the door may still appear in a wide photograph or block the photographer's movement. Look at window sills, floors, open shelves, balconies and the view through adjoining rooms. The goal is to show the property clearly, not to conceal a problem or misrepresent its condition.
Ask whether cupboards, lofts, garages and gardens will feature in the listing. Even if a cupboard will not be photographed, it must not become a dangerous temporary store for heavy boxes. Keep the agent's guidance in writing if several people are deciding what stays.
Separate the photograph deadline from the final handover
The property may need two different levels of clearance. For photographs, remove visible clutter, broken furniture and waste that blocks the best views. For completion or a tenancy handover, remove all agreed belongings and leave the property in the condition required by the relevant contract. Do not assume that a photograph-ready house is a fully cleared house.
Make two lists: before photos and before handover. The first list should include anything that makes a room look cramped or unfinished: surplus chairs, unwanted shelving, piles of boxes, old appliances waiting in a hallway and garden debris close to doors or windows. The second can include useful furniture retained for viewings, personal items still needed during the sale and anything awaiting an authorised decision. Give each list an owner and date.
If the shoot is imminent, prioritise the largest visual obstructions. Removing one bulky item may reveal more floor area than spending an hour reorganising small objects. However, do not discard documents, valuables or items that belong to another person merely to meet a photographic deadline. Move those to a protected area and arrange a separate decision.
Plan rooms in the order the photographer will use them
Begin with the main living areas and the route through the home. A clear hallway, front door and staircase let the photographer work efficiently and help the property feel accessible in the images. Then deal with rooms likely to have the widest shots. Leave the bathroom and kitchen free of loose waste, even if they need later repairs; small items on worktops and floors draw attention in a photograph.
Measure whether large furniture really needs to leave before the shoot. A single sofa or bed can show scale. Several mismatched pieces may hide the available floor. Ask the agent rather than assuming that an empty room always photographs best. If furniture belongs to a tenant or another family member, confirm the removal arrangement before including it in a collection quote.
Outside, clear ordinary garden waste and broken items from the views of the patio, lawn and access path. Do not push material behind a shed or fence where it becomes a later problem. Our garden clearance service may be relevant if the outdoor load is substantial. Tell the collector if the only route is through the house, particularly after cleaning has been completed.
Choose a temporary holding area carefully
It is tempting to move everything into the room that will be photographed last. That can work briefly for possessions that genuinely need to stay, but it can also cause double handling and a late surprise. Choose a storage area that is secure, dry, accessible and large enough for the retained items. Label each box with its destination and keep a written list of what is inside. Avoid blocking a fire route, utility meter, boiler or door.
If every room will be photographed, consider moving the keep items off site before the appointment. A car boot or a friend’s garage is only suitable if the items can be transported safely and remain protected. For estate documents, photographs, jewellery and electronic devices, keep direct custody rather than placing them in an unmonitored corner of the property.
Separate anything promised for reuse from the waste collection load. A charity or buyer may cancel. Set a confirmed pickup time before the shoot and a backup plan if the item is still there the day before. Photograph the condition of items being offered so the recipient can make a realistic decision in advance.
Request a collection quote from the final removal list
Once the retain and reuse groups have been taken out of scope, photograph what should leave. Show each room from a distance and add close-ups of large, heavy or awkward items. Count bags and boxes, identify appliances and describe access from the item to the vehicle. The collector also needs to know about stairs, lift bookings, loading restrictions and the distance to a legal stopping point.
Ask whether the quote covers carrying from inside, dismantling furniture, bagging loose material and disposal. If you expect the team to remove items from a loft or garage, state that explicitly. A general instruction to “clear the property” can be understood differently by the owner, agent and crew. Our house clearance service describes the collection route; the price guide offers indicative load sizes. The actual price depends on the material, volume, weight and access described.
Do not hide paint, chemicals, gas cylinders, asbestos-containing material, sharps or unidentified containers among household rubbish. Such items may require a specialist or local-authority route. Electrical items and fridges also need to be declared. Clarify their treatment before the collection day so they do not remain in a newly photographed room.
Leave enough time between collection and photography
Schedule the bulky clearance before cleaning and final styling. A collection may produce dust, reveal marks behind furniture or leave small fragments that need a sweep. A practical sequence is to remove unwanted items, check every room against the list, clean, make any agreed minor repairs, and then prepare the camera-facing details. Leave some margin for an unexpected access issue or a load that differs from the original photographs.
Avoid booking the collection for the same hour as the photographer. The crew needs a safe carrying route, and the photographer needs a settled room without vehicles, equipment or people moving through the frame. If the shoot date cannot move, agree a realistic cut-off for collection and identify which work can be completed later without disrupting the appointment.
On the day before the shoot, walk through the agent's shot list. Check the entrance, window views, floor edges, corners, open doors, balconies and garden paths. Empty cartons and bagged waste should have an agreed destination, not simply be shifted out of sight. Confirm that any furniture retained for scale is clean and in the intended room.
Record what still has to happen after the pictures
The property may look ready in the listing while remaining in use for weeks. Keep the second, handover-focused list active. Record who is collecting retained furniture, where stored possessions are going and when the final clearance can happen. If the agent will conduct viewings, agree how the space will be maintained between appointments. The photographs are a snapshot; the property still needs to be safe and accessible for visitors.
Before the final removal, check cupboards, sheds and storage spaces again. Ask the relevant owner or executor to resolve any items marked for later decision. If a private business takes household waste, GOV.UK advises checking that it is an authorised waste carrier. Keep the collection details and receipt with the property file so that the person managing the sale can account for the work.
With a room list, a clear photography deadline and photographs of the unwanted load, you can contact Rubbish Please for a collection estimate. Explain what must leave before the shoot and what will remain until handover. That gives the team a defined job and gives the agent the space needed to present the property accurately.